
Before Sitecore 9.0, Web Form Marketers (WFFM) was being used to full fill the web form requirement in Sitecore. But in Sitecore 9, we don’t need Web Form Marketers any more. Sitecore providing Form out of the box with Sitecore 9.0 installation.
Sitecore tried to make Forms very simple. In my opinion, they tried hard to make our developers life simple specially in terms of designing forms. Its user interface is very much similar to Visual Studio IDE where you get toolbar. You just need to drag control from the toolbar and need to drop it on your form.
Creating Form
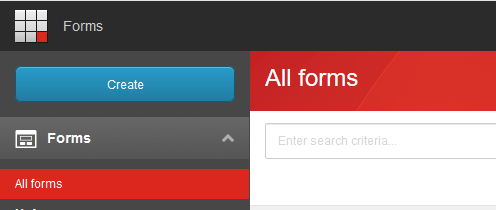
You can find the Forms application shortcut on the Sitecore Launchpad -> Marketing Applications section.
- Click on for Forms icon to open Forms dashboard.
- Click on the Create button, and select Blank form option.
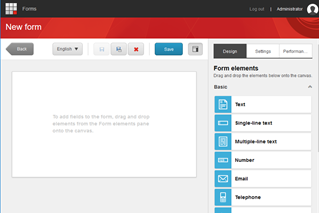
- You can see that on right side it has toolbars (Form elements). You need to drag control(s) and drop it on the form area as per your requirements.
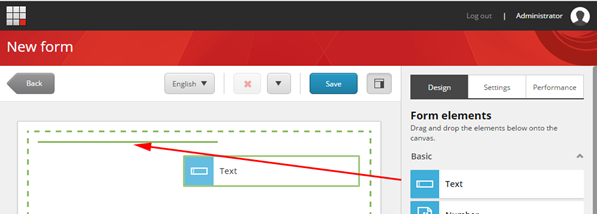
- Drag and drop a Text control on the form area.
- Once you select the Text control, right side you can see its properties and you can make changes as per your requirements.
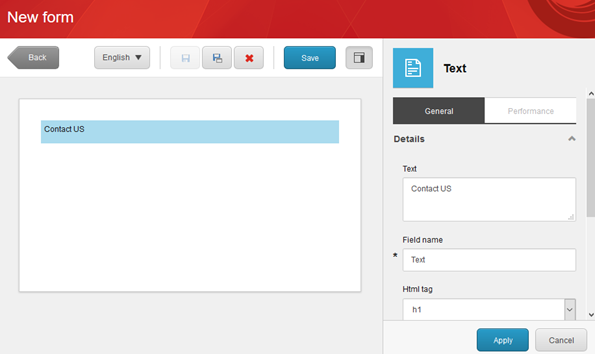
After making all changes you must have to click on Apply button to apply the changes made. - Click on Save button to save the form. First time it will ask the form name.
- Now you can design your form as per your requirements.
- For this blog purpose I have created a form:
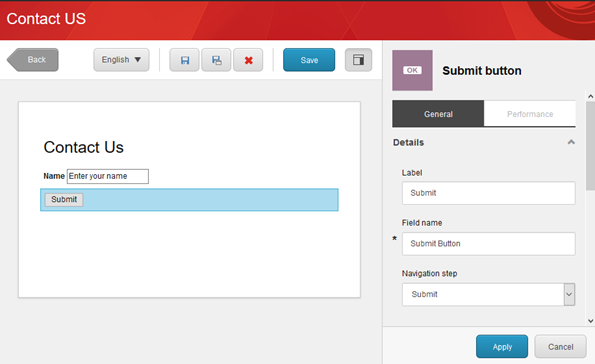 Now our form is ready.
You can see your form in the content tree as well under /sitecore/Forms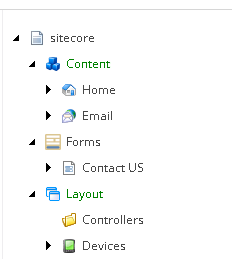
Now your form is ready. You need to show this form on the web page.
Display form on the page
There are two high level steps to add form on the web page.
- Create a layout (MVC Layout)
- Insert form on web page.
Create MVC Layout
- In the Content Editor, go to /sitecore/layout/Layouts, click on the MVC Layout button.
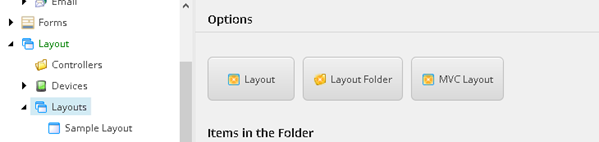
- Follow the wizard to create MVC Layout. Named it “MVC Layout”. You can give any name.
Insert form on web page
- Select item (page) where you want to add form.
- Click on the Presentation -> Details from the ribbon.
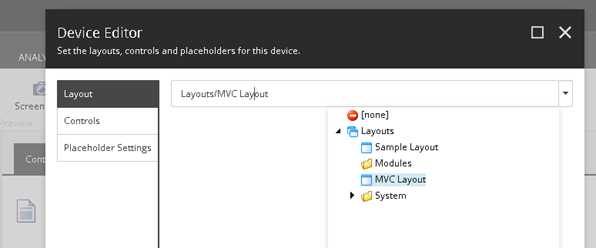
- Change its layout with the newly created layout “MVC Layout”
- Click on the Controls tab on the left and add Mvc Form rendering (/sitecore/layout/Renderings/System/Forms/Mvc Form).
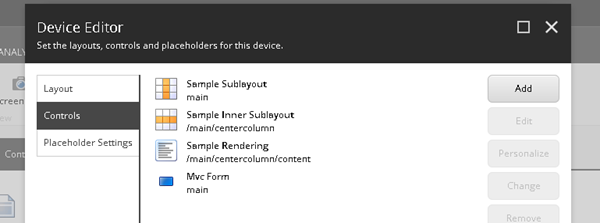
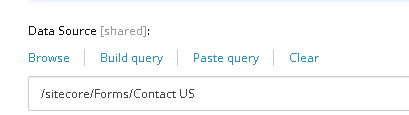
- In the Data Source of your Mvc Form rendering, select your form created.
- Publish your page.
Now your page is ready to view. It would look like:
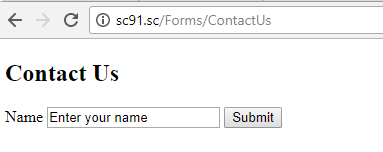
Till now, we have not done anything to make the “Submit” button work. Depending on your requirement you must work on this to make “Submit” button functional.
In most of the case you want to access end user’s input and redirect it to some other web page.
Custom Submit button action
Require assemblies:
- Sitecore.ExperienceForms.dll
- Sitecore.ExperienceForms.Mvc.dll
- Sitecore.Mvc.ExperienceEditor.dll
- Sitecore.Kernel.dll
- Sitecore.Mvc.dll
You must have to create a class that must inherit from SubmitActionBase<TParameterData> class.
public class SubmitForm : SubmitActionBase<string>
{
public SubmitForm(ISubmitActionData submitActionData) : base(submitActionData)
{
}
protected override bool Execute(string data, FormSubmitContext formSubmitContext)
{
Assert.ArgumentNotNull(formSubmitContext, nameof(formSubmitContext));
if (!formSubmitContext.HasErrors)
{
Logger.Info(Invariant($”Form {formSubmitContext.FormId} submitted successfully.”), this);
}
else
{
Logger.Warn(Invariant($”Form {formSubmitContext.FormId} submitted with errors: {string.Join(“, “, formSubmitContext.Errors.Select(t => t.ErrorMessage))}.”), this);
}
string name = ((InputViewModel<string>)formSubmitContext.Fields[0]).Value;
Logger.Info(string.Format(“Name entered:{0}”, name));
formSubmitContext.RedirectOnSuccess = true;
formSubmitContext.RedirectUrl = “/”;
formSubmitContext.Abort();
return true;
}
protected override bool TryParse(string value, out string target)
{
target = string.Empty;
return true;
}
Build the code and deploy.
Now everything is ready except linking of the above newly created type with the Submit button click action. For this, we must have to create submit action item. Below are the steps:
- Go to /sitecore/system/Settings/Forms/Submit Actions
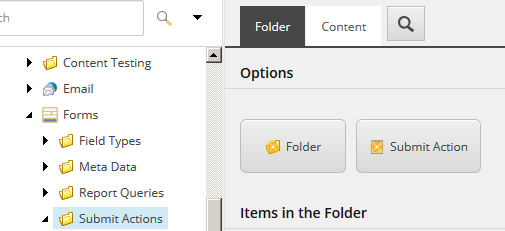
- Click on the Submit Action and provide the name “Save Submit Data”.
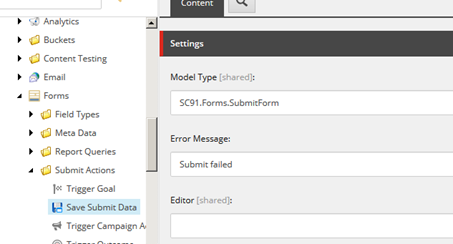
- Open the newly created item fill the Model type and Error Message field.
Now we have to assign this Save Submit Data action to our Submit button created on the form. - Open your form in the Forms designer window (Launchpad -> Form).
- Select the Submit button control and scroll down the right area until you see Submit actions section.
- Click on the + button and select your created Submit action
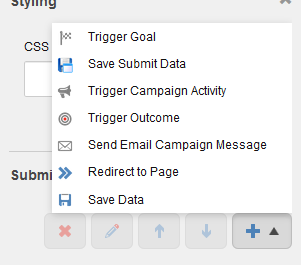
- Click on Apply and Save.
- Publish your items.
Now all set. Check your page and Submit button functionality.
Thanks for your time 🙂

Like the previous versions, the save actions had ability to show a success message on successful execution of a SaveAction, can we achieve something like that from default save actions available ?
LikeLike
I believe Sitecore does not provide this out of the box.
You can show error message using “Error Message” field. I don’t see such option for success message.
Thanks.
LikeLike